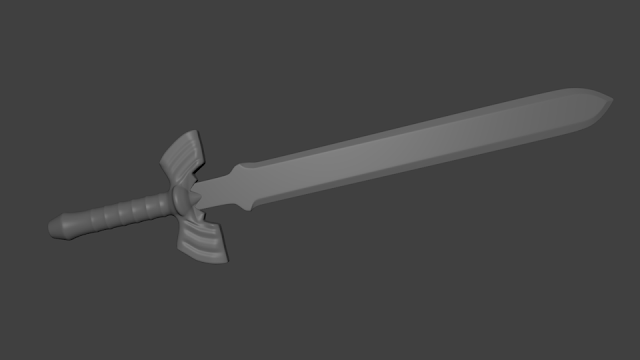
This project is going to be broken down into several parts. I'd like to show how I get my final products. So for inspiration, I went browsing through Google Images. I knew that I wanted to model a weapon... but which one. Then, I saw it, glistening. The Master sword. I always loved Zelda games, ever since I was a little kid, 5 years old I believe.
This is the image that I am basing my design off of. It is not going to look exactly like this, this is just a reference. I'm going to try to texture the sword using only textures I create in GIMP. This is such a simple model, but I think taking my time and trying to perfect it is going to be a fun time. So let's get started...
This screenshot shows how I started the sword. I added a cylinder mesh. Using extrude and scale, I shaped the hilt to it's rough shape. Here you can see I still need to add tons of detail, however, this is still just a rough shape.
Here you can see that I finished the rough shape of the handle and begin to move further up the hilt. Slowly, I make the rough shape of the bottom portion. Extruding, scaling, and rotating each section as I go. This section took me a bit to figure out how I wanted to approach it.
In this screenshot I have to hilt shaped out, roughly. There is still tons of work to do to refine the shape further. This is before shading it smooth or adding any subsurf modifiers.
To make the blade, I added a plane to the mesh and shaped out the flat portion of the blade. Then, using extrude I added thickness to the blade. I then placed a loop cut around the perimeter of the edge and scaled/moved it outwards to create an edge/point.
This is currently what the sword looks like. I've started the process of adding detail. In this render I have a subsurf modifier and smooth shading enabled. Next, on the to-do list, is more detail!
-Eric


No comments:
Post a Comment